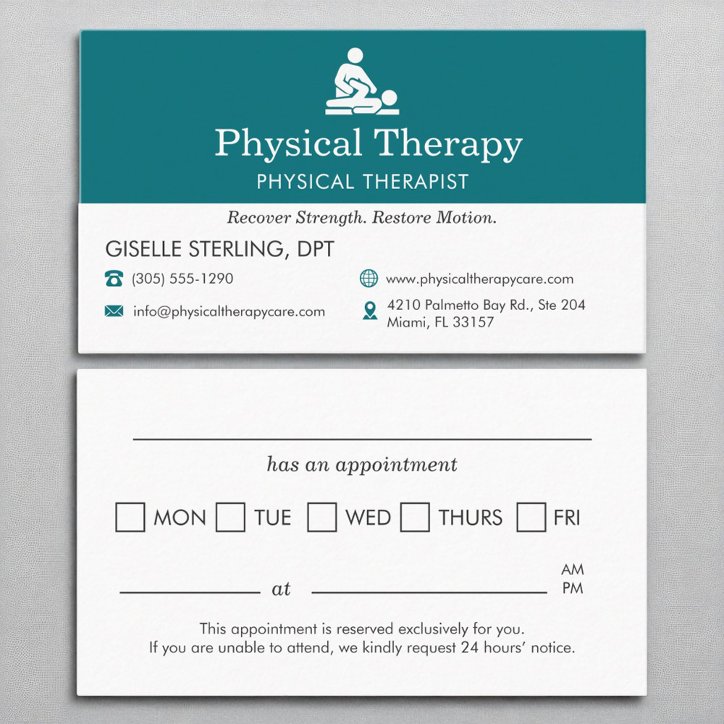
Appointment Business Card Contact Checklist
A appointment business card should help someone take the next useful step. Start with business contact on the front; writable appointment fields on the back. Then remove information that competes with that purpose.
Quick checklist
- Date and time
- One primary contact route
- A legible name and specialty
- A final check at actual size
Start with the next action
Put date and time where a reader can find it quickly. Business contact on the front; writable appointment fields on the back form the starting checklist. A person should not have to choose among several equally prominent phone numbers or links.
Give each side a job
Use the front for business identity and your primary action. Use the back for genuinely useful supporting information, such as a short service summary, an appointment field or a scan destination. Leave space around each group rather than using every available area.
Remove details that become stale
Confirm the selected finish and pen work together before using appointment fields. A link to a page you maintain is often easier to update than a printed list.
Personalize and proof
Replace all sample text, check spelling and contact details, and inspect both sides at actual card size. Ask someone else to read the main information before ordering. If there is a QR code, test its real destination after personalization.
Catalog examples to explore
These are genuine product previews, shown without changing the design. Personalization, materials, availability and price are confirmed on the product page.